
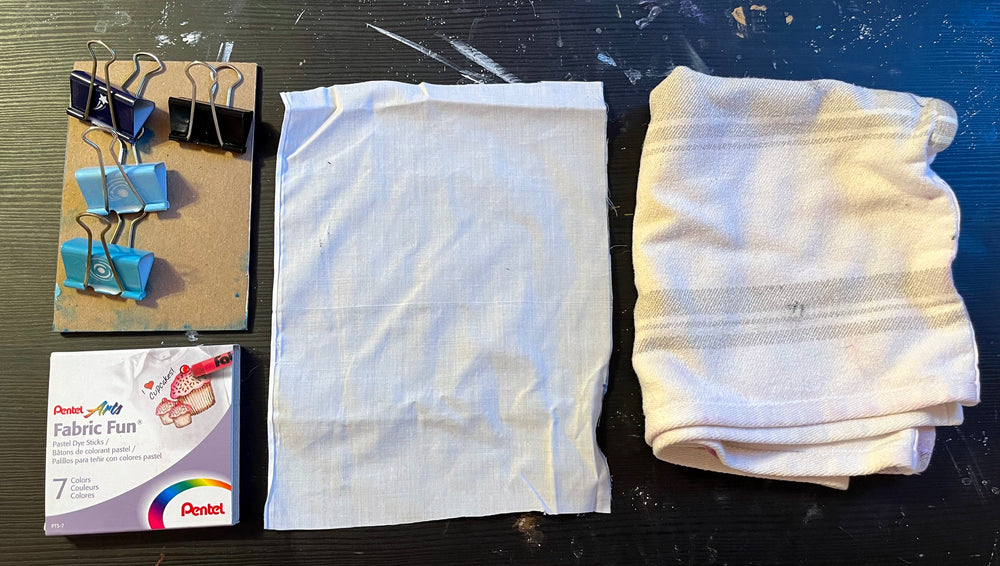
Materials:
- Pentel Fabricfun Dye Sticks
- A piece of fabric
- A flat surface and clips
- A pencil
- Rag (optional)

I decided to make a patch of my succulent Eggatha Chickie (a gift from WAS staff Miranda @miranda.lydia.nagel & named by Danny @danny.daze, because…hens and chicks…excellent pun. Or should I say eggcelent?)
STEP 1: PREPARE YOUR FABRIC

Using clips and a piece of heavy cardboard, I pull the fabric tight. You can do this as big or small as you want, and you could also pin it down if you prefer. In terms of fabrics, I used a little scrap of white cotton. Light colours work best, and Pentel advises to avoid 100% synthetic fabrics like polyester or nylon.
STEP 2: SKETCH YOUR DESIGN
Next, a little pencil sketch - this is optional but helpful in this case. Any pencil will do, but I used a soft 5B pencil so I didn’t have to press very hard. If you’re using light colours, it’s possible the graphite will peek through, so use a light hand.

STEP 3: BEGINNING YOUR DRAWING
Referencing my plant, I lay down some red and go over it with white to make a pink.

Next I fill in the base of the leaves with a bright green and the tips with blue, then go over the blue with green and blend it down. This makes a nice little gradient, since I don’t have a darker green on hand.


STEP 4: IRONING

Because the dye can pass through the back of the fabric, I place a rag under the patch before I iron it. Pentel says to iron through a piece of paper, but since I already have the rag there, I just fold it over. My patches usually don’t get run through the wash often, but if you’re drawing on a T-shirt or something similar, the paper might be a better idea. I have noticed that the shirt I drew on has faded a little, but my patches are still nice and vibrant.

Once it’s heat-set, it’s done! I cut mine out and went over the edges with a backstitch. You can also stitch the patch directly to something else, stick it in an embroidery hoop or frame for display, sew the edges with a machine, anything!
OPTIONAL STEP 5: ADDITIONS
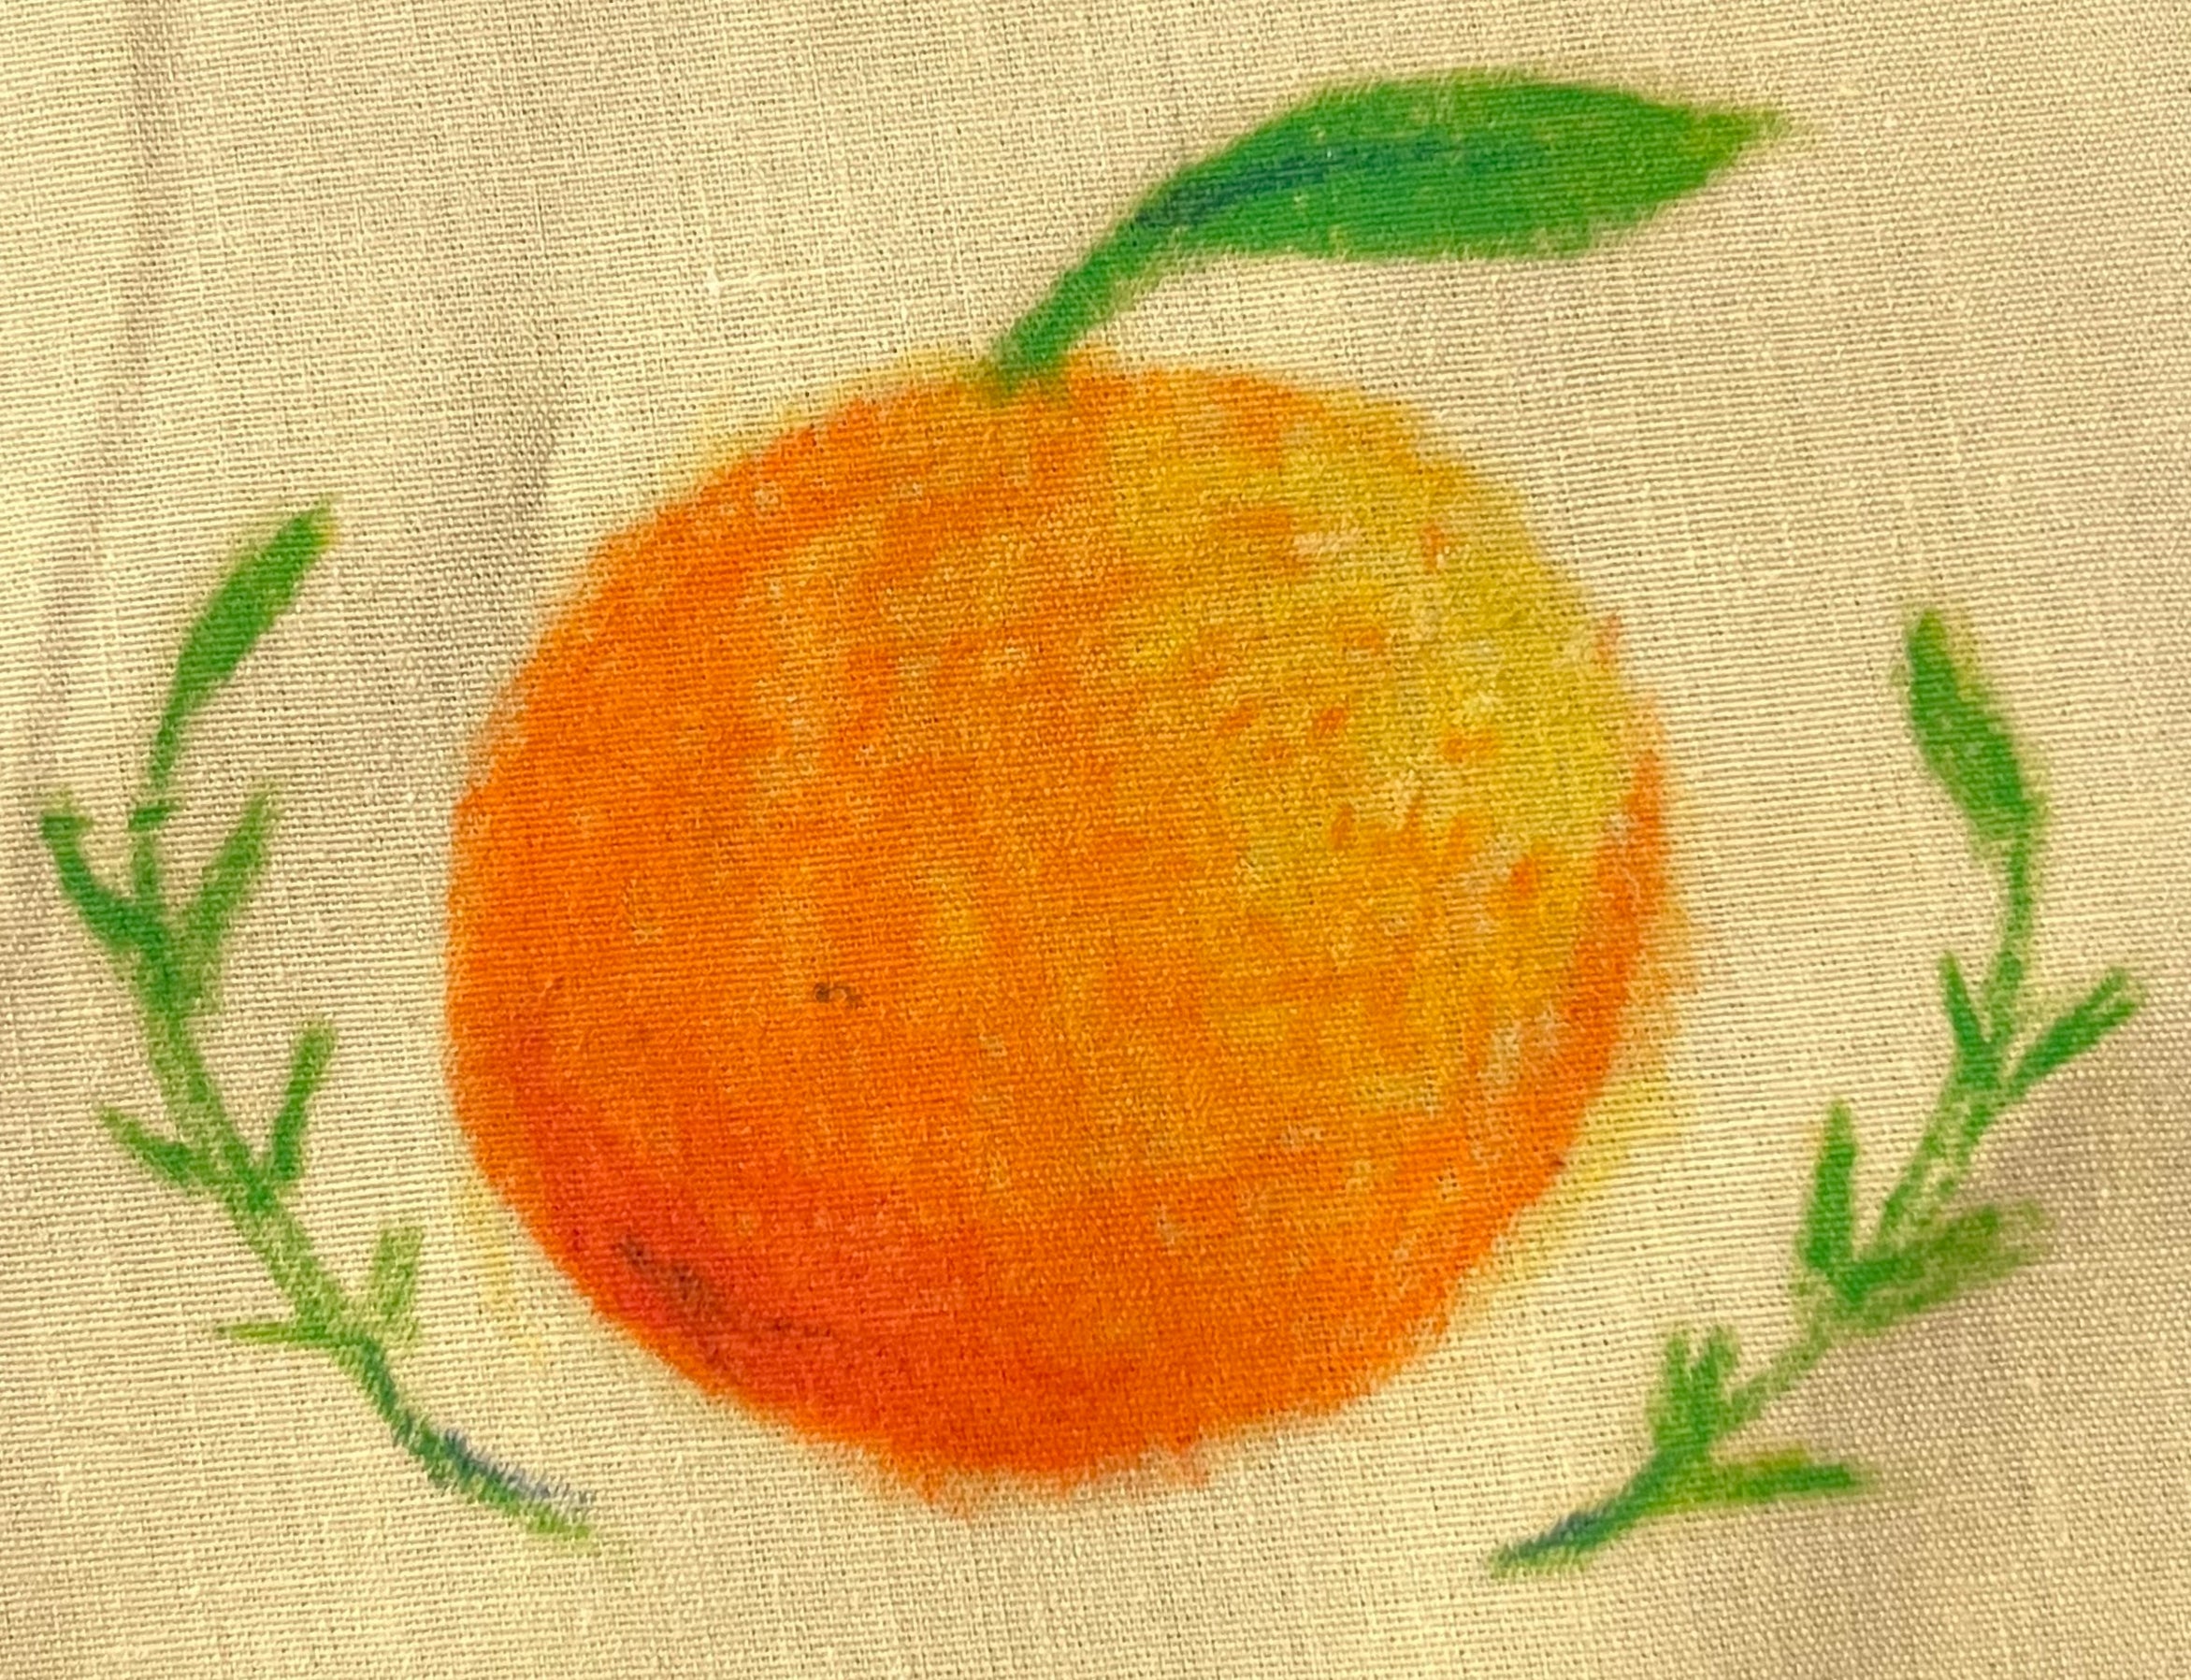
Another example - I made this orange patch because I wanted to see how the pigment would work on a coloured fabric. I really like how it turned out!

Go forth! Make patches! And tag us on Instagram @wyndhamart if you do. We’d love to see what you make!