![]()
Here at Wyndham, we're always looking for new products and experiences we can bring to our customers. In our search for high-quality handmade paper to serve a need in the store, we went away for a weekend to see how the wonderful people at Paper House Studio in Toronto are making their paper. Many thanks to Emily for being our guide and teacher through this paper journey!

Here are some examples of various natural fibers used in paper. We learned that the different properties of fiber will affect the strength, color, absorbency and texture of the paper. While most paper used every day in Canada comes from the inner bark of trees, other fibers you might be familiar with come from flowers (cotton) or the soft inner fibers of stems (such as hemp or flax). We even worked with a fiber that comes from the long leaves of a plant closely related to the Banana! (Abaca)

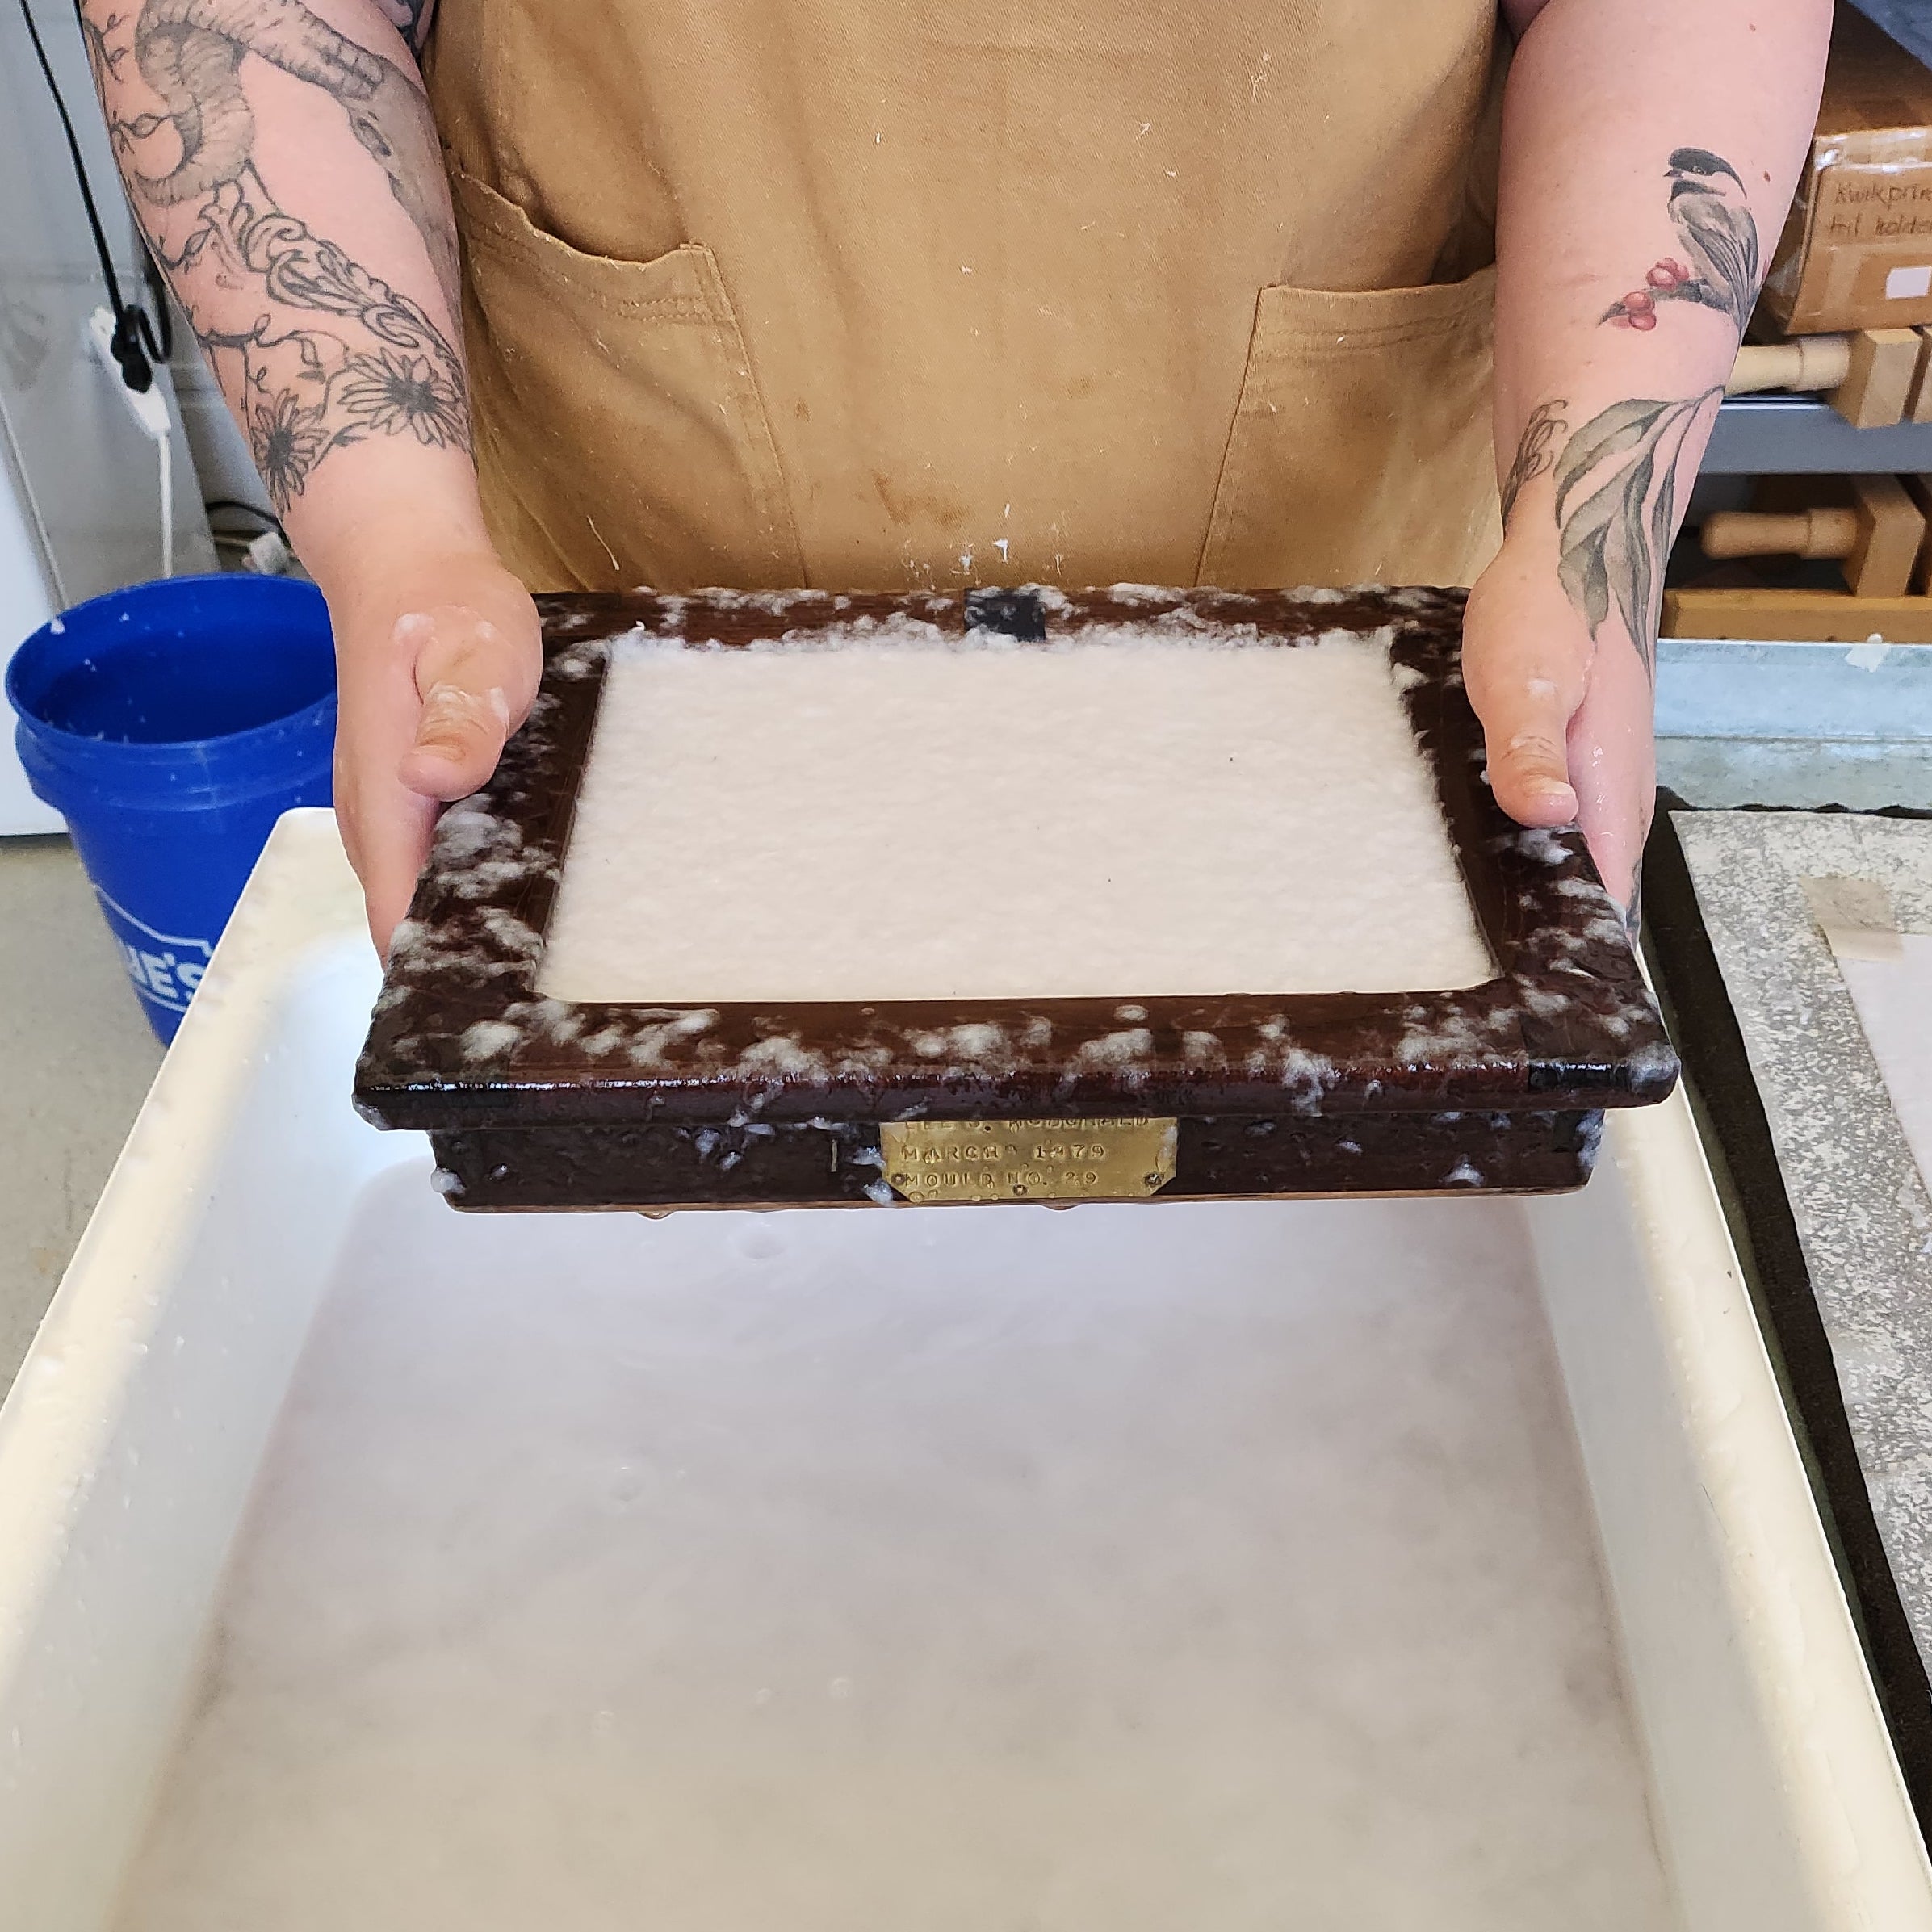
To start our paper making journey, we covered some technical aspects and the history of paper. Emily brought out some of the screens used to make handmade paper, the one we used to start was 8"x10" and old enough to be considered an antique, still working perfectly. The screen itself is a fine copper weave, usually tied by hand.


When we were ready to pull a sheet of paper, the mold was dunked into the water, and then pulled up as level as possible, lightly shaken back and forth and side to side to help the fibers distribute evenly. The higher the fiber content in the water of the vat, the thicker the sheet pulled. If you liked the look of the sheet, the deckle box was then carefully lifted, and the screen tilted slightly to drain the rest of the water. Otherwise, we could dunk the entire thing back into the vat, wash it clean, and start again.
When the paper was drained, it was moved from the frame to a specially prepared surface. This is done by 'couching' the paper, a term that comes from the french word “coucher” meaning “to put to bed.". The video above is of the process being demonstrated to Danny by Emily.

Between layers of paper, special sheets of sewing interfacing are used to separate out the layers. These must be carefully flattened between the sheets to avoid air bubbles or folding. However, one of the joys of handmade papers are the little imperfections that are impossible to completely avoid. One such accidental touch we found ourselves making was something referred to as 'paper maker's tears' which are little craters or indents caused by dripping water onto the paper during the process. Sometimes this is even done intentionally to create texture, such as with paper like the Tama Tissue we carry.

When we'd reached the limit of the paper we could stack, it was time to press it! The paper was layered between boards and wool blankets, until we had a stack big enough for the hydraulic press. Extra boards where slid on top to hit the right height.


The press was then lowered to put a few tons of pressure down on our newly made paper! At first nothing seemed to happen, and then suddenly, water started to gush out the back into the drains. It was surprising how much water they'd been holding!

Once our sheets had been pressed, it was time to transfer them. We carefully peeled them off the sheets and laid them out onto dry wool blankets. I was also surprised by how strong they were already! They lifted off easily and didn't fall apart the way I was expecting. In most ways, it was already a (very wet) sheet of paper.

These then went for ANOTHER round in the hydraulic press, though not much water was released the second time, and then transferred again to their final place to dry, inside of a giant book press with a fan behind it for aeration, layered between carboard and sewing interfacing.
Some of our thinner paper was done as early as the next day! But most of it needed a few days to dry completely. We knew it wasn't fully dry when it was still cool to the touch (also a great way to know if your plants need to be watered. Warm soil is dry soil.)
One of the other fibers we used to make paper, as I mentioned earlier, was Abaca! A much longer fiber than cotton (which is fairly short for a paper fiber), very thin sheets can be made with quite a lot of structural integrity.

You can see how thin and translucent the paper is even still on the screen! We experimented with this paper by pulling sheets without the deckle box. This resulted in thinner sheets, as the fibers were more freely able to drain off, and thinner, more eccentric edges or 'deckle edges'. However, it was much harder to keep consistent quality. The vat full of the abaca fiber had a different feeling as well, like silk or feather down, instead of the almost billowy cotton vat.

On our second day at PaperHouse Studios, Emily broke out the colours for us, and showed us another way of making handmade sheets. The fiber used for these was Abaca again, with pigment mixed into the water, and left overnight to absorb into the fibers, with a chemical helper. These were also sized with wheat starch, so they would be less absorbent.
With this paper, we used a slightly different method that allowed more time to customize the individual sheets of paper. Instead of having a slurry of water and fiber, the deckle box we used had higher wooden walls, with a screen at the bottom, pushed down into a bin of shallow water. We added the fiber directly into the box, agitated the fibers, and then lifted the entire box up, unclamping it to reveal our colourful sheets!

This method allowed us to control the colours and thickness to a precise degree, though the sheets we made were smaller. Some of these papers are works of art in themselves.


2 comments
Johanna Partnoy
Very interesting, this little workshop on paper making.
Margaret Ahlers
Fascinating and extremely-well explained. Illustrations really helped. Congrats on this!