
 Art Classes & Workshops
 Summer Camps
 Ground Floor Gallery
 Ground Floor Window
 Print Studio
 About
About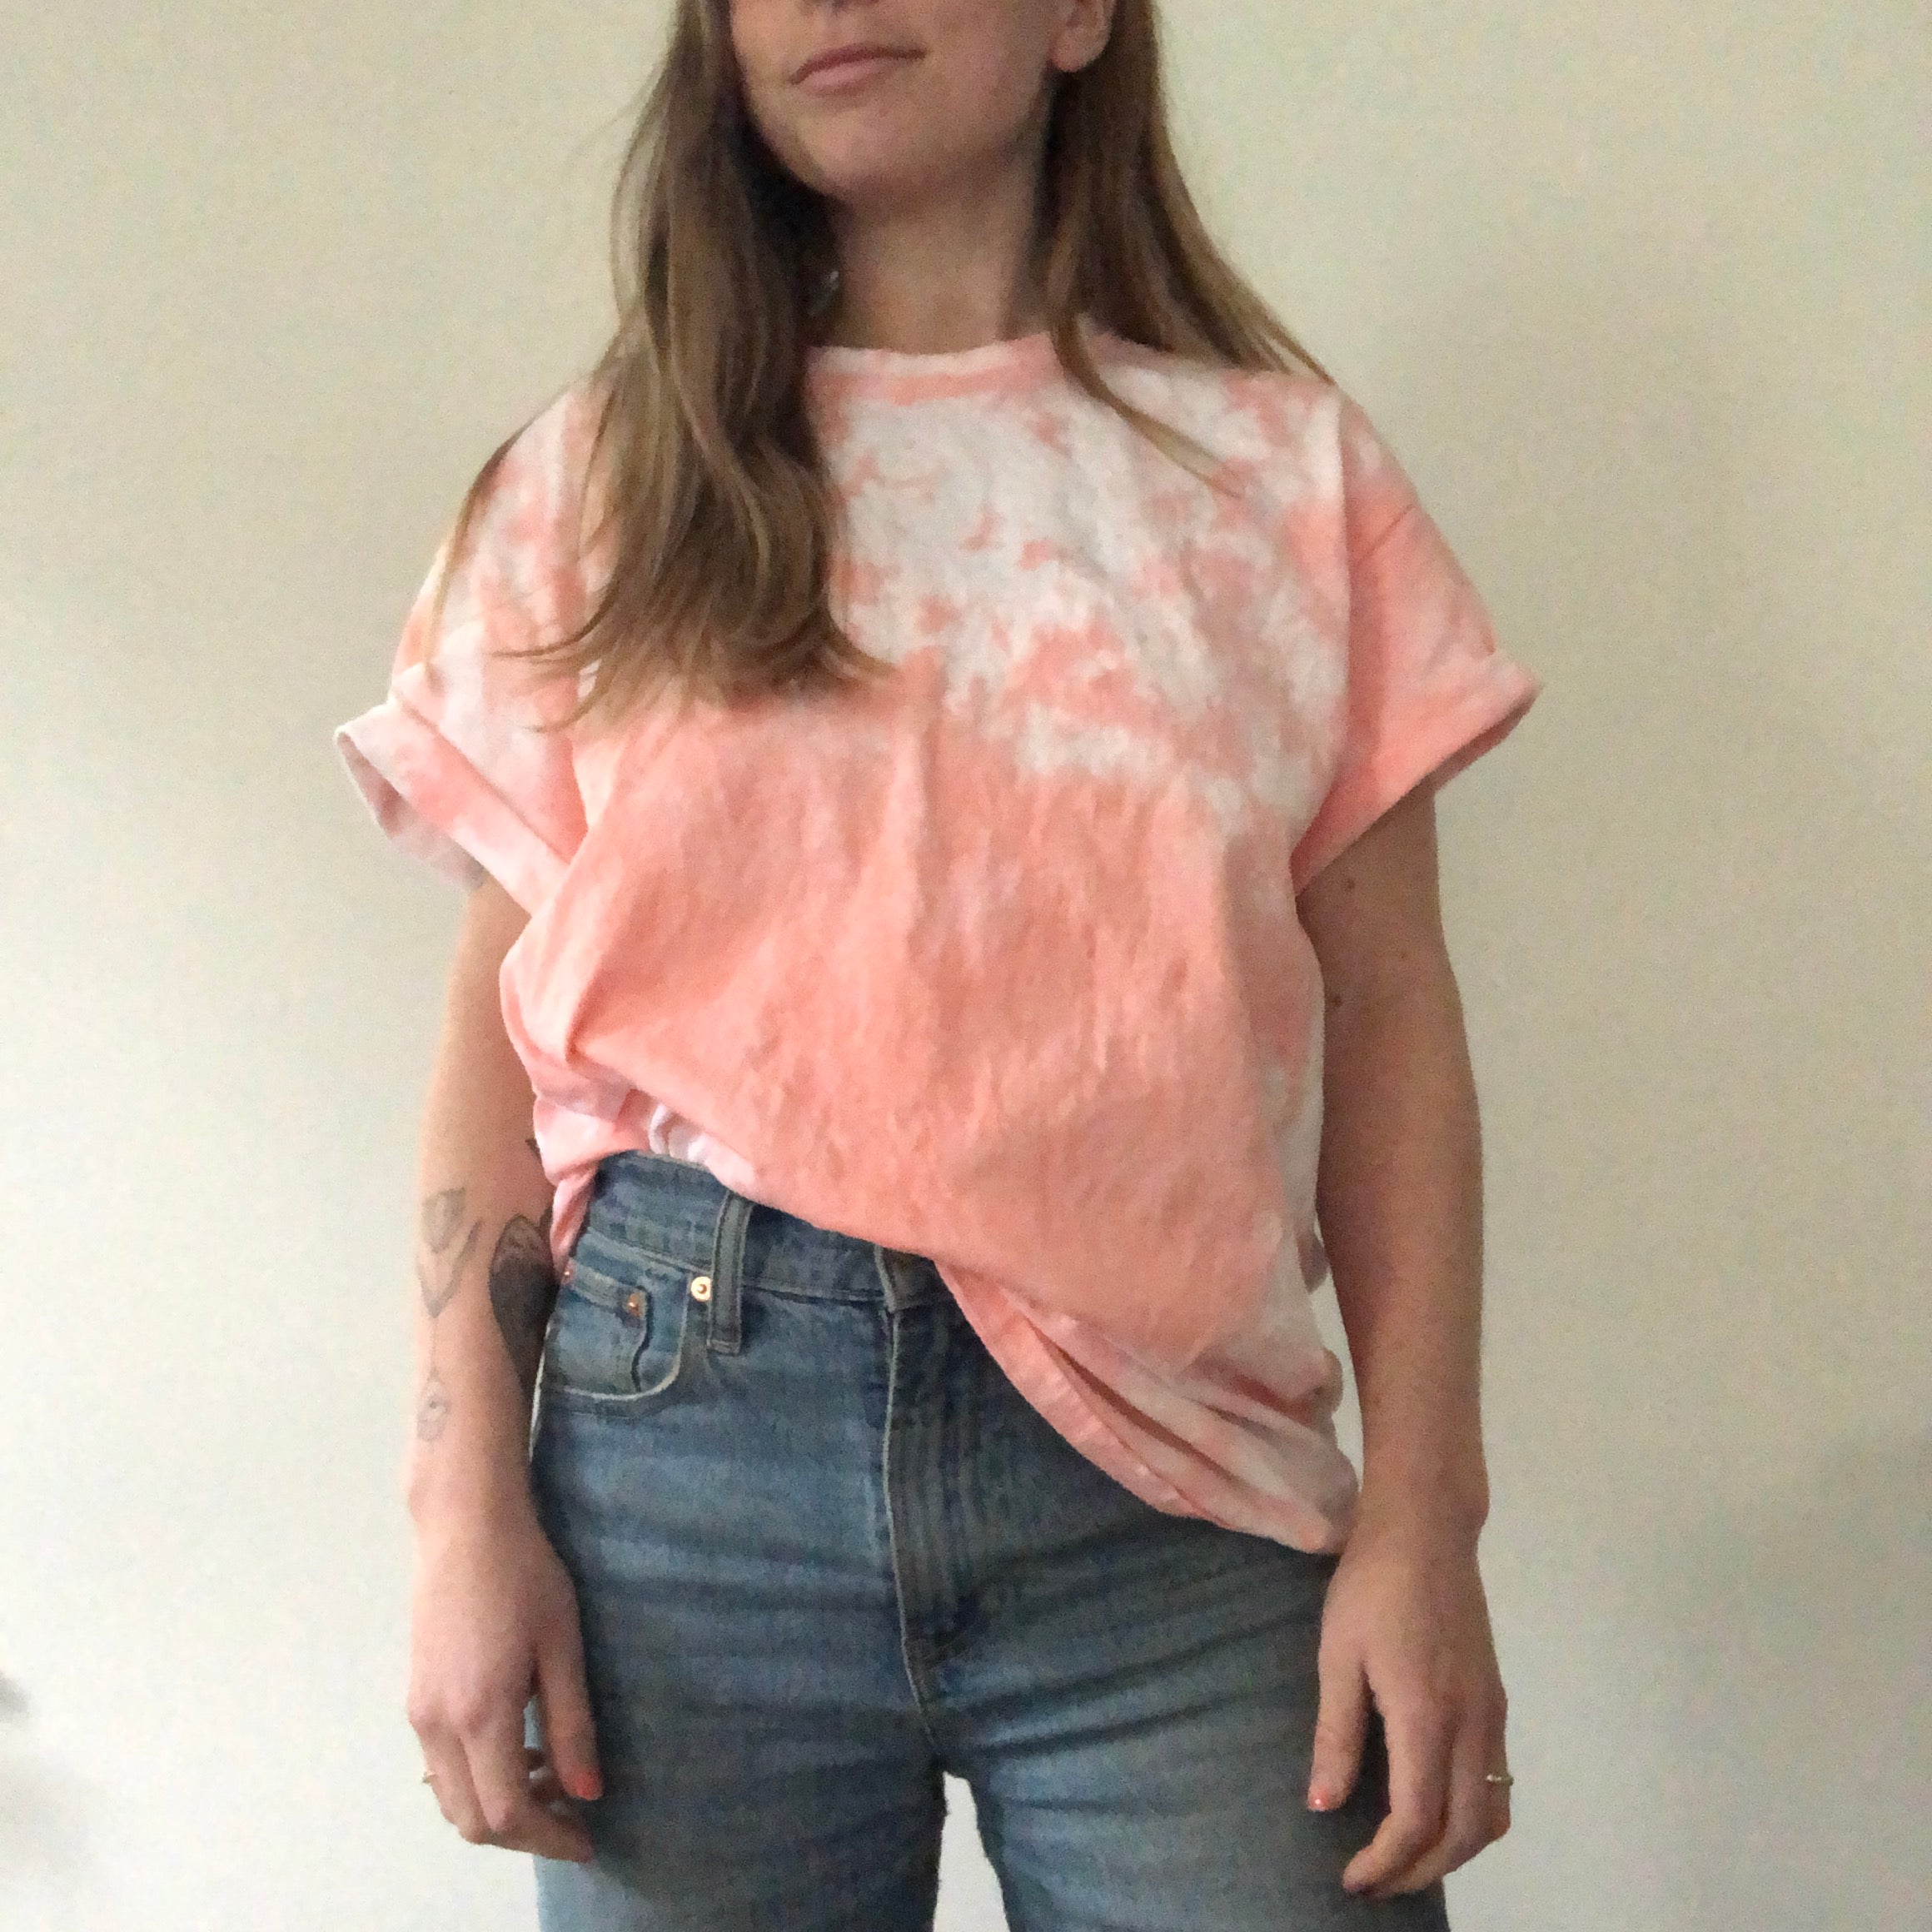
This super trendy, super simple tie-dye method is great for beginner tie-dyers and does wonders for upgrading your wardrobe. Create your own one-of-a-kind pieces!
Whether you want to add some flair to an old t-shirt in your closet or spice up something new this guide will walk you through how to tie-dye with the crumple method.
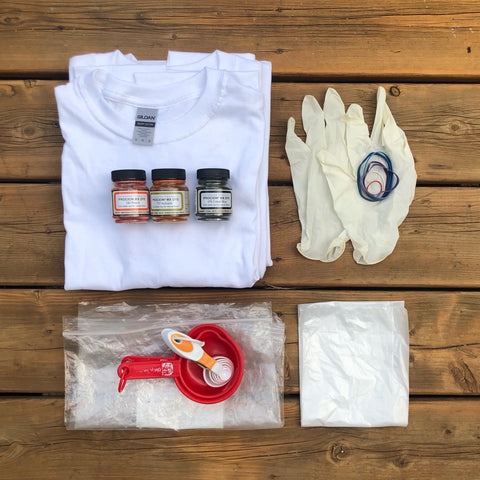
Materials:
- Pre-washed white clothing made with at least 70% cotton
- Jacquard Procion MX (Also available in Jacquard Tie Die Kits and Jacquard Jewel Tone Tie Dye Kits!)
- Measuring spoons
- Plastic storage bags
- Old rags or towels
- A plastic cover or tarp
- Rubber gloves
- Rubber bands
- Soda Ash
- Synthrapol or Vinegar
For further instructions on prepping and mixing the dyes: read the Procion MX Instructions
STEP 1: PREPARE YOUR FABRIC
Before you set up, be sure to prewash the fabric to remove any dirt, grease or sizing. If you’re using soda ash to help the promote bright vibrant colours, thoroughly dissolve 1 cup soda ash per gallon of water. Soak fabric in the soda ash solution for at least 20 minutes after washing.
STEP 2: SET UP YOUR TIE-DYE STATION
Once you’ve wrung out your fabric, you’ll want to ensure that your area is tie-dye ready. Roll out plastic over your chosen surface (I’ve got a tupperware lid under a plastic garbage bag) and put on your gloves. The tarp and gloves can help create less mess and shorten your post-craft clean-up.

STEP 3: PREPARE YOUR DYE
After your set-up is complete, you’ll want to mix your dye. Today I'll be using peach! Instructions vary depending on size and desired tone, so make sure you plan ahead of time. For this I’m following the Procion MX instructions of 2 teaspoons of powdered dye into 1 cup of water.
You can check to see if you’re happy with the shade by testing a bit of each color on an old rag or towel. If you want to lighten the color, add more water. If you want your color to be a darker shade, add more dye.
STEP 4: CRUMPLE YOUR CLOTHES
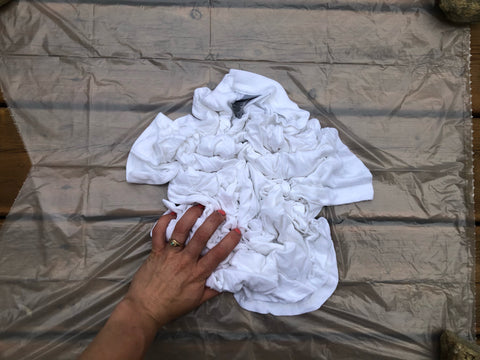
This step is where the technique comes to life. First, make sure your item is damp to help the dye absorb. Next, lay your item flat on your surface. With your rubber bands close by, tightly crumple sections of the clothing and make sure you’re crumpling both the front and back of your fabric You can use rubber bands to hold it all in place. The tighter your crumples, the more white space your items will have.
STEP 5: ADD THE DYE


Begin squeezing the dye onto each section. Flip it to make sure that each side will be dyed. Once the dye has been squeezed onto the piece of clothing, I like to squeeze the fabric to get the dye to spread throughout the fabric. Place it in a plastic bag for 12-24 hours for the pigment to set. I usually like to put the plastic bag in the sun - I don’t know if this technically does anything but it's how I learnt and now always do it.
STEP 6: RINSE AND DRY

After the dye sits, take your items out of the bag and remove the rubber bands if you used any. Rinse the clothing under cold water until it runs clear. Lastly, wash your items with cold water in a washing machine (I also add white vinegar to the mix but you can also use Synthrapol). Let it air dry for at least 12 hours. Once your item is dry, your one-of-a-kind piece is ready to wear!
